
Hello crafty friends!
Today I’m sharing a card I have created for the Papercraft Business Challenge Blog! Stay tuned at the end of my post so you can learn more about the Challenge and if you’re interested, come play along! I’ve shared in a previous post that I was chosen to be one of the DT members and I’d love for you to check it all out!
To start this card, I cut two A2-sized panels from some 110lb cardstock. One of the panels went through my diecut machine with a Sizzix circle die because it’ll act as a window for the stamped images when I assemble the card later on.
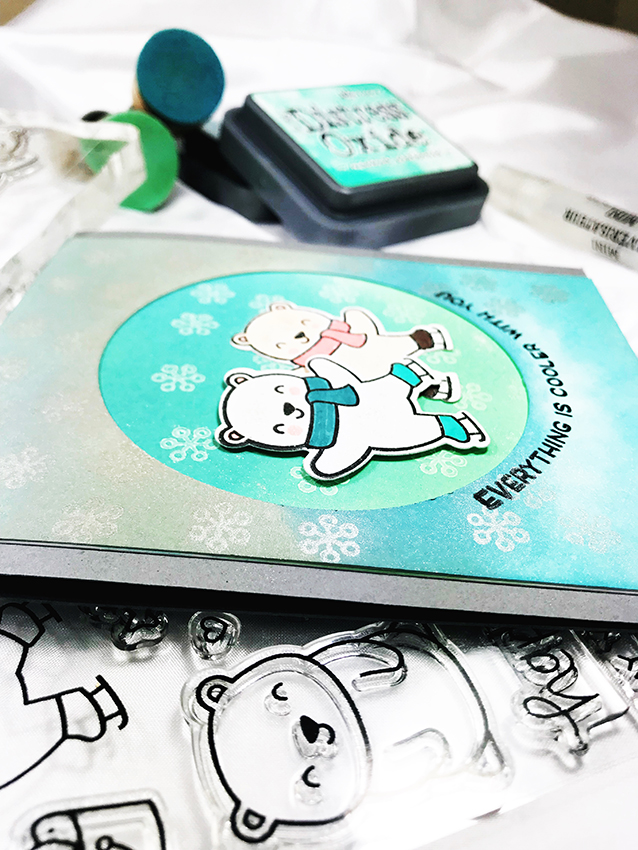
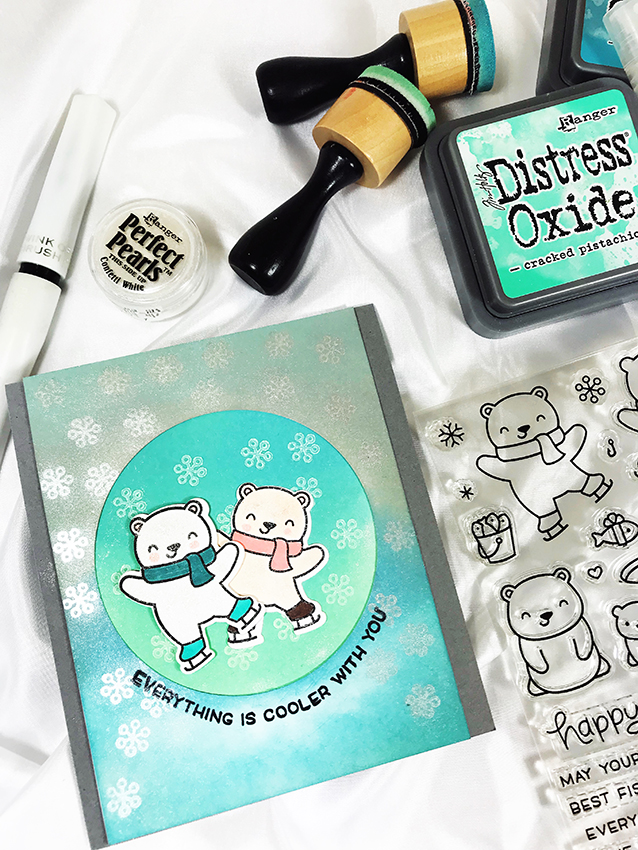
For the ink blending, I got my inspiration from the cool pictures I see about the Northern Lights. I used Tim Holtz Distress Oxide inks in Cracked Pistachio, Broken China, and Iced Spruce for the base layer and top layer. To prevent harsh lines between the ink colors, I used a light hand when doing my blending (in a circular motion starting off of the panels) and I would go over the “boundary” (where the two colors would meet) to soften the transition between them.
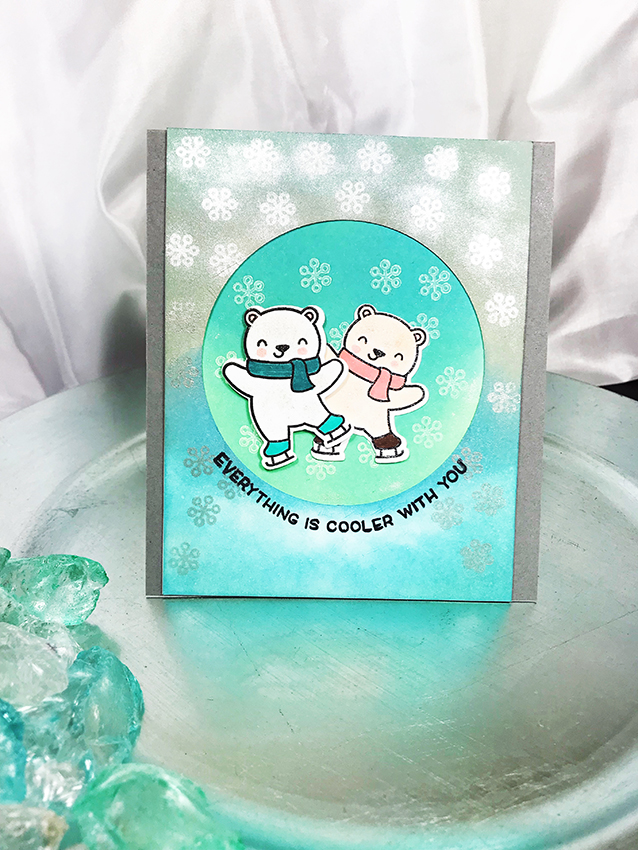
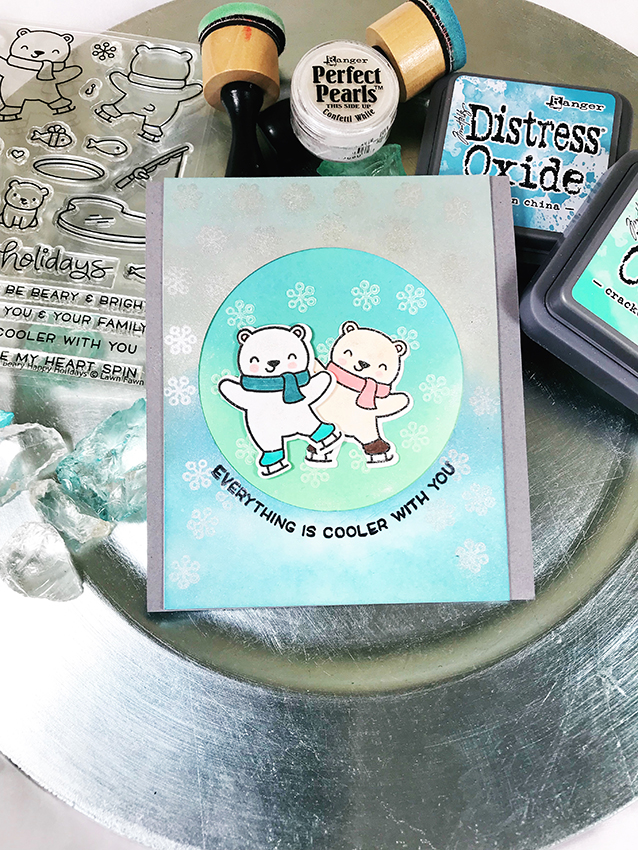
I used the snowflake images from Lawn Fawn’s Beary Happy Holidays stamp set in Simon Says Stamp White pigment ink to stamp both panels. I chose a pigment ink because it would give me a grace period of staying “wet”, so I would be able to apply Perfect Pearls powder on top! I used one of my spare paintbrushes to dust a fine layer of Perfect Pearls on top of the stamped snowflake images. I brushed the powder back and forth lightly over the image until the pigment ink was covered. I took a Swiffer cloth to lightly buff away the excess powder. It’s a bit of a mess and will migrate onto you, but I can deal, ha! I’m not an expert on Perfect Pearls but I have seen other crafters use a water mister to help “set” the powder, so I held my mini water mister about a foot away and did a couple quick spritz. If I didn’t “set” it like that, the powder can smudge off. If you check out Jennifer McGuire Ink on YouTube, she has fabulous videos explaining this product and other techniques that work well with this product!
As I let those panels dry, I worked on my two polar bear images. I stamped the polar bears using an alcohol friendly ink because I knew I would be coloring with Copic markers, which are alcohol-based. For my white polar bear, I colored his scarf using BG15 and BG18, with his ice skates in BG15. I used R22 to create some pink cheeks and their inner ears for both bears. For the other bear, I used E00 as her overall body color, with E77 for her ice skates, and R22 for her scarf. I used my Sizzix Big Shot to die cut the images out. Before assembling the finished product, I needed to stamp my sentiment and wanted to attempt a circular angle for it. That’s why I love my MISTI tool because it can help manipulate my sentiment’s shape (without doing stamp surgery!). My sentiment didn’t come out as black and crisp as I wanted (probably because of the Perfect Pearls in some areas) so I used my Papermate Flair tip to go over the sentiment.
Finally, I adhered the panels together using my Tombow adhesive tape runner. I wanted a bit of dimension, so I adhered one of my bears with foam tape. I put the finished piece on a gray cardbase, slightly wider than an A2-sided card.
I hope you are inspired to create a seasonal card or crafty project. Come enter the Papercraft Business Challenge blog this month, we’d love for you to join us!
For the complete set of rules and information, come visit the Challenge Blog here.
Quick Details on the Challenge Blog:
- A new challenge starts at the beginning of each month (December 1st!)
- All papercrafters are welcome to play, submitting papercraft projects such as cards, scrapbook layouts, mixed media, planner spreads, etc!
- With your NEW papercraft project, you’d link your project post and use our linky tool so we can check out your project
- We’ll have one winner per challenge (with a prize) and a Top 5 nominated by us DT members!
December’s Prize is this Magnolia Designs- Christmas Eve Edwin stamp!

Gorgeous card! I love the blues you used and image is adorable! I’m working on my coloring skills – you inspire me girl!
LikeLike
Thanks, Jessica! I am working on improving my coloring skills and building up my Copic markers. I get so mesmerized by the YT videos of intricate Copic coloring with the shading and blending… I’m simply not there yet 😉
LikeLike
I just love your card! ❤ I just ordered this stamp set a few days ago and can't wait to use it when it arrives! Lawn Fawn will always hold a special place in my heart haha!
LikeLike
Thank you, Jessica! Lawn Fawn was one of the first companies I started using when I started card making so they’re also super special to me too. Each release they have, I pretty much swoop them all up haha!
LikeLiked by 1 person
Same here! Lawn Fawn was the first stamp company I purchase a bunch of sets from and they’re still on of the ones I have the most from. It’s between them and My Favorite Things, I think 😀 ❤
LikeLike
It’s so gorgeous! The colors are beautiful! So glad to be teammates! xxx
LikeLike
Thanks, Jeanie! I’m excited to see more inspirational projects from our teams in the upcoming year 🙂
LikeLike
Such a beautiful card Ashley! The stamp set is adorable & your inking technique is perfect. I haven’t used Perfect Pearls yet & you’ve inspired me to get some 🙂 Awesome work!
XO Lisa @ Papercraft BusinessJoin in on the fun with our Papercraft Business Challenges!
LikeLike
Love your card Ashley, the Polar bears are adorable! Gorgeous colours and thanks for sharing the Perfect Pearls technique – must try it out. 🙂
LikeLike
Thanks, Juan! The Perfect Pearls was fun to play with. I’ve seen some other beautiful colors that I must try out too!
LikeLike
[…] […]
LikeLike
[…] to check out last month’s Papercraft Business Challenge project I did? Check it out here and check out my fellow Design Team sisters projects […]
LikeLike